
Today we are going to crochet a simple but very cute skirt for our dolls. With this explanation you can make skirts for any amigurumi doll.
This explanation is for free personal use only. You are not allowed to translate, sell or distribute this explanation or the photos without my permission, please send a direct link to whoever wants to share this explanation.
Materials that you will need are: yarn for the skirt, the crochet hook of the right size for your yarn and the scissors.
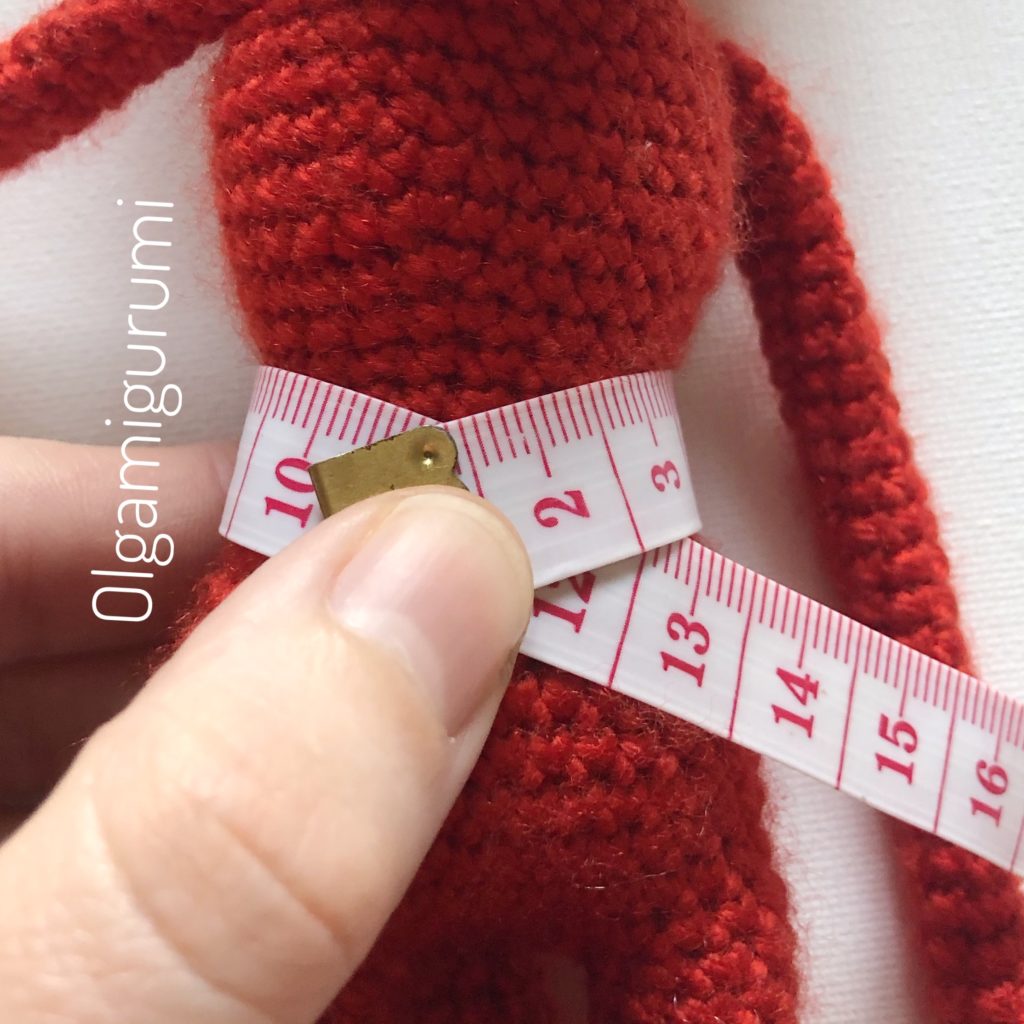
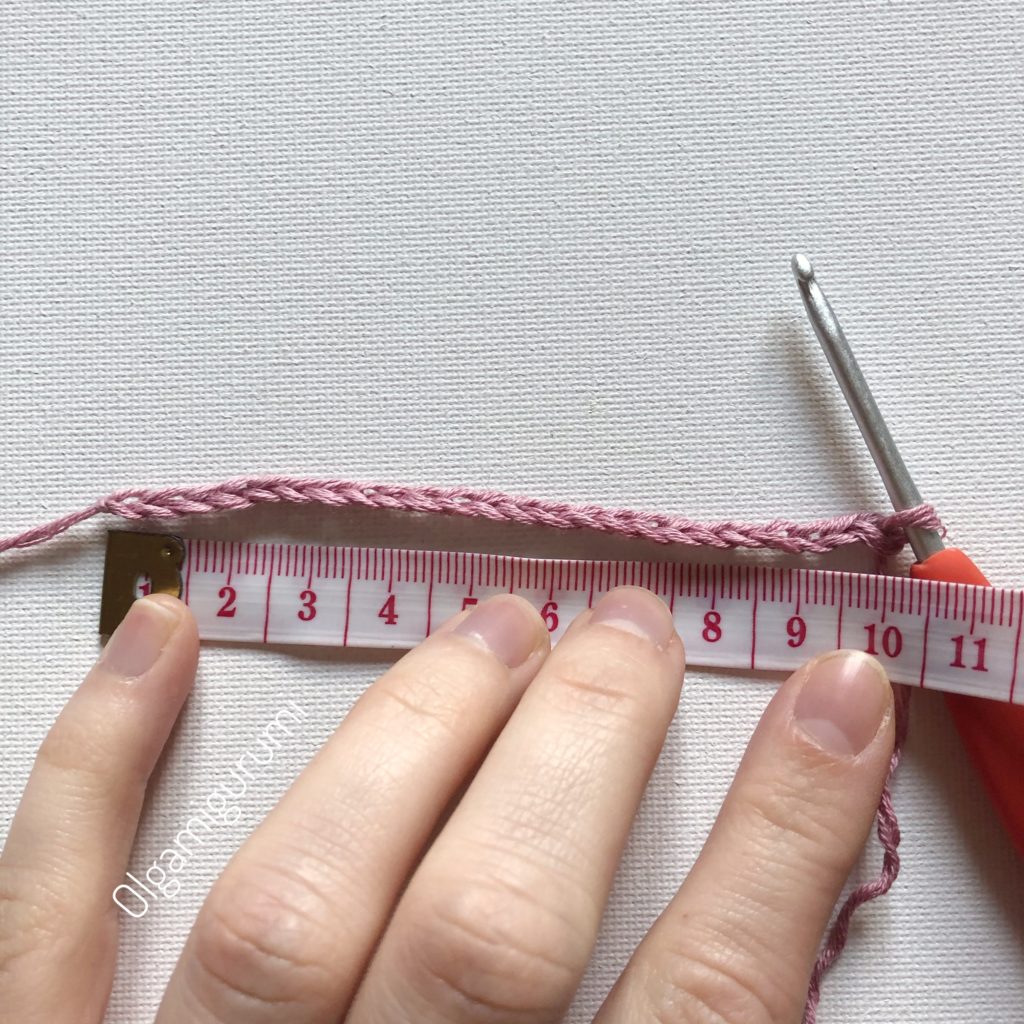
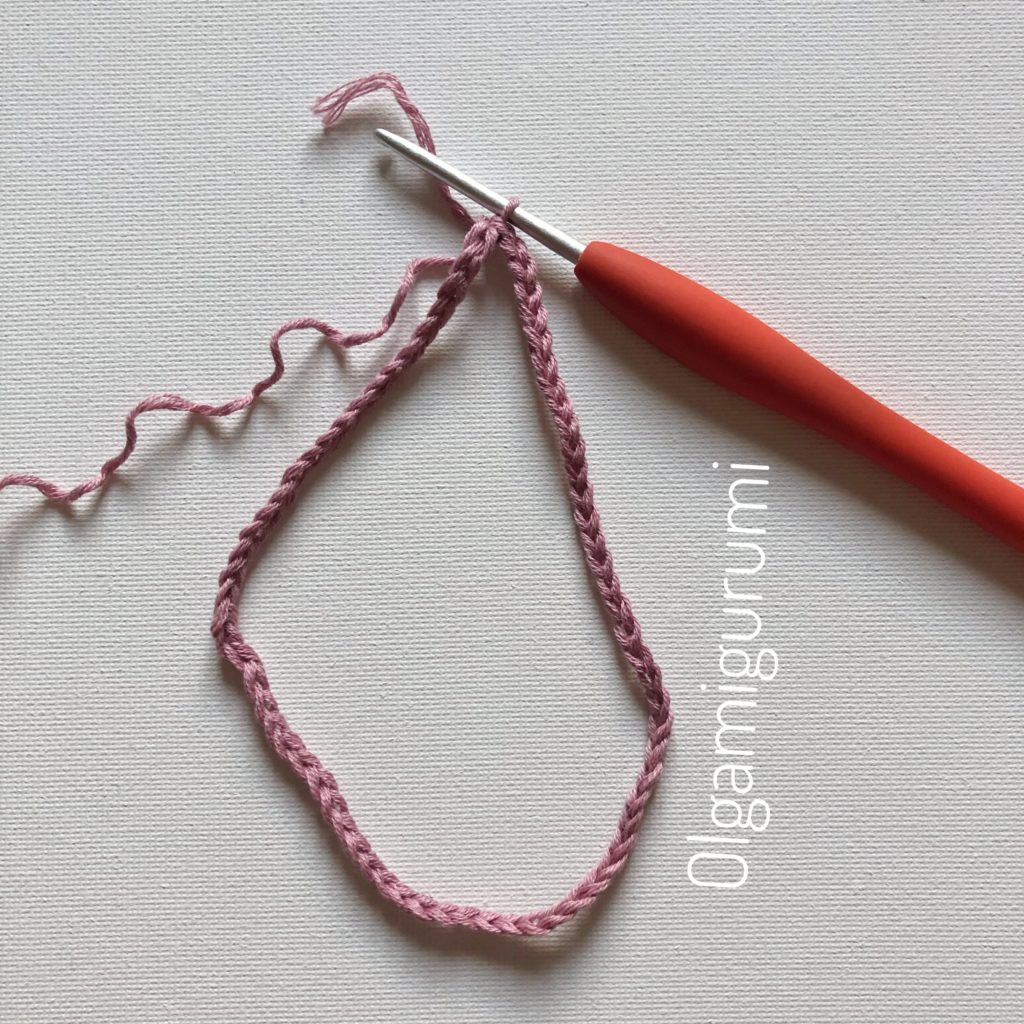
Put your doll close to you and begin to make the chains. You have to measure the waist of your doll and make the chain the same length, so that you can put the skirt on your doll. Count how many chains you have.
In my case, Alicia‘s waist is 10 cm. I make 24 chains that measure 10cm.
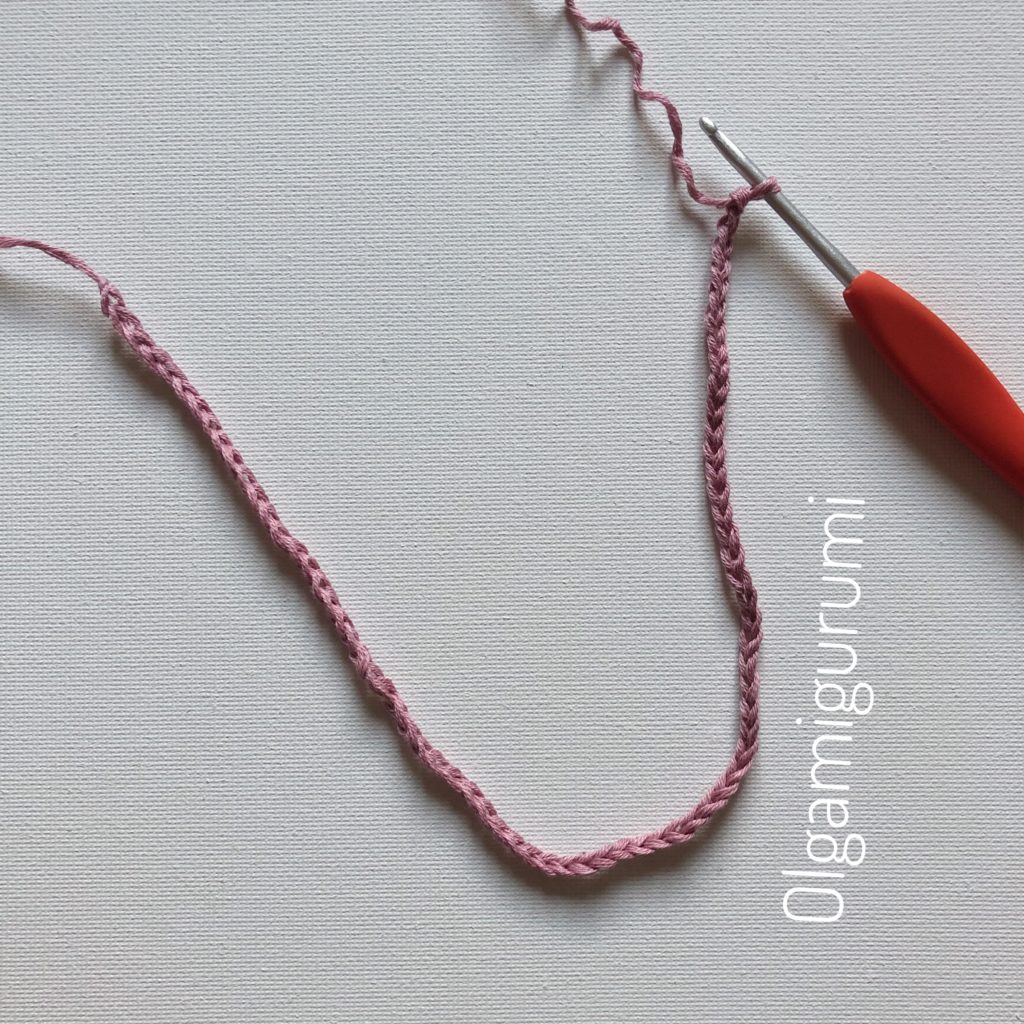
Now we have to multiply by 3 the amount of the mounted chains. In my case they are 24 * 3 = 72 chains.
We make a circle joining with a slip stitch in the first chain.
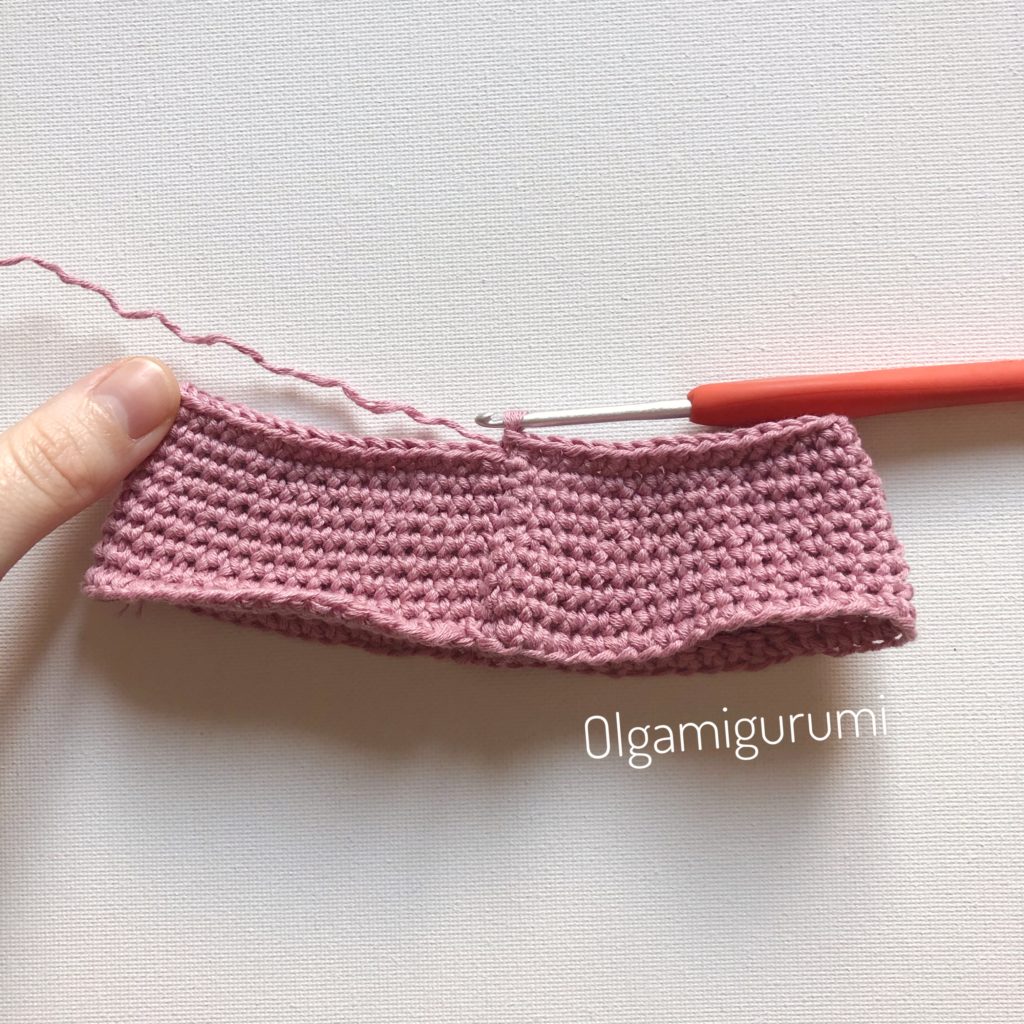
Now we crochet rows with single crochet stitches until we have the desired length of the skirt. At the beginning of each round make a chain, at the end of each round join with a slip stitch in the first chain.
I prefer to make single crochet stitches taking only the front loops of the stitches on each round. So the skirt turns out lighter, not so thick.
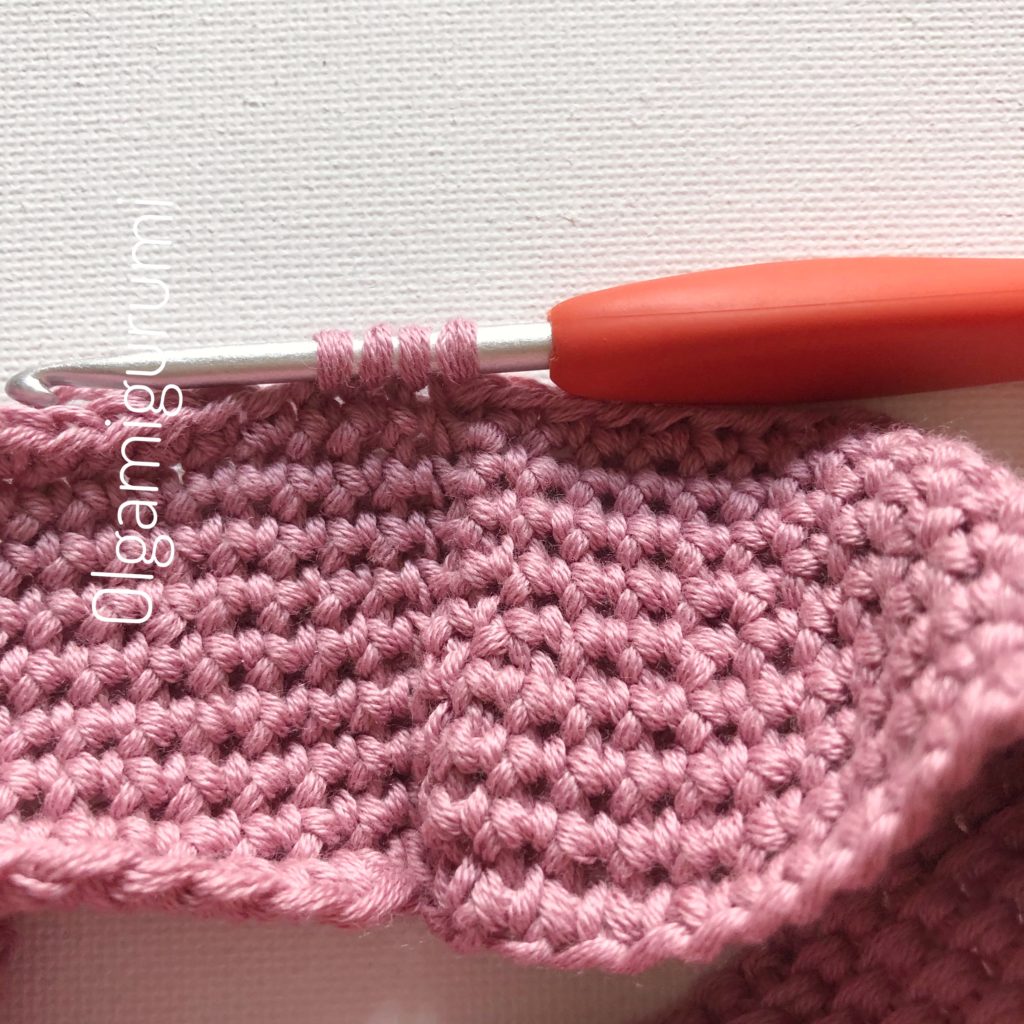
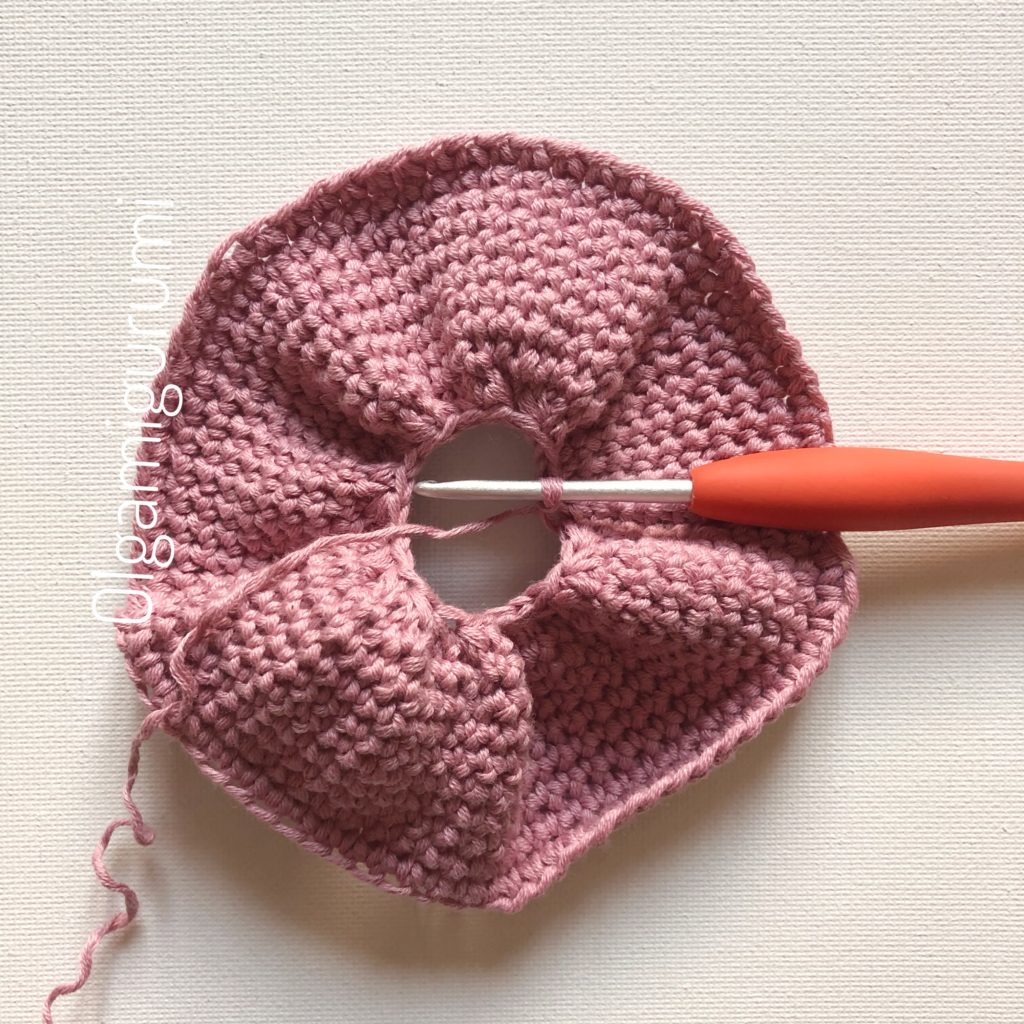
When you have the desired length, the next round make like this: every 3 stitches close together (decrease of three simple crochet stitches). So you will have in total the amount of the stitches as the start amount of the chains. In my case they are 24 points.
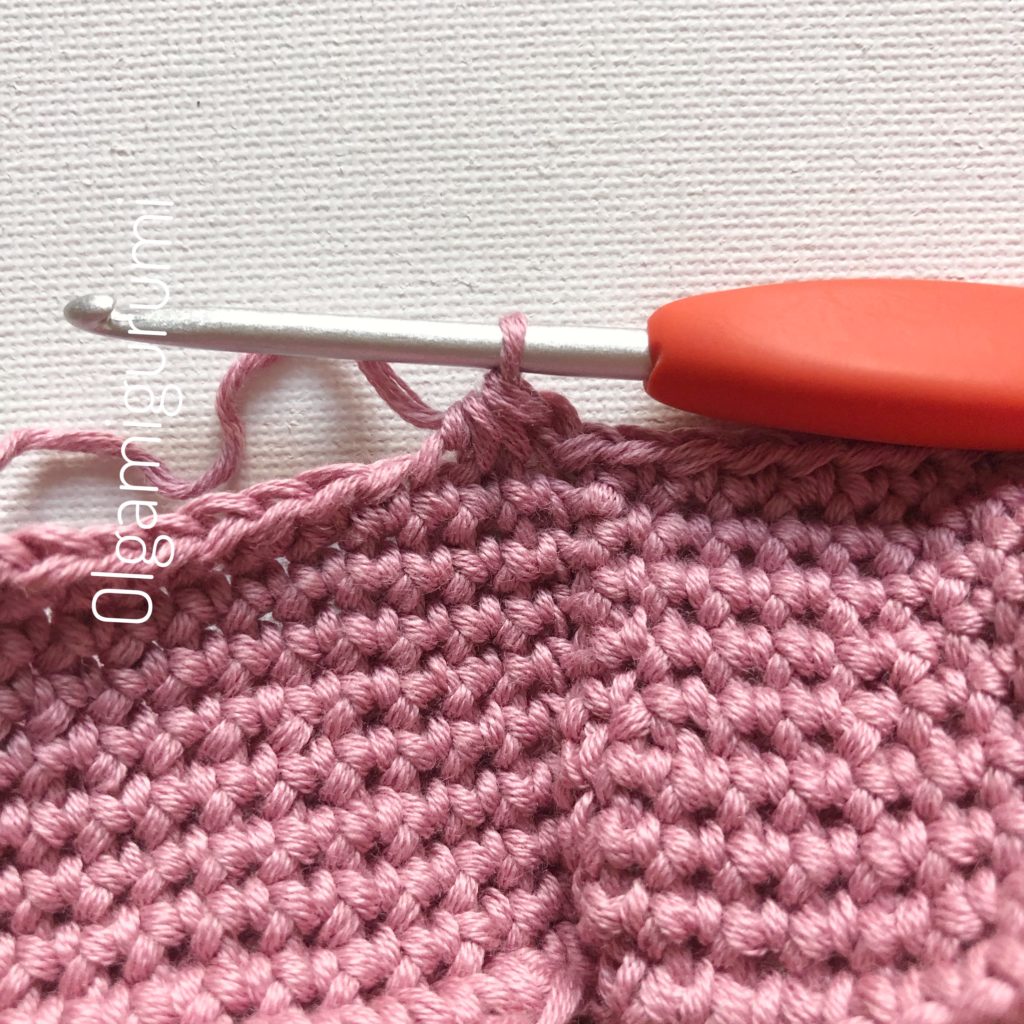
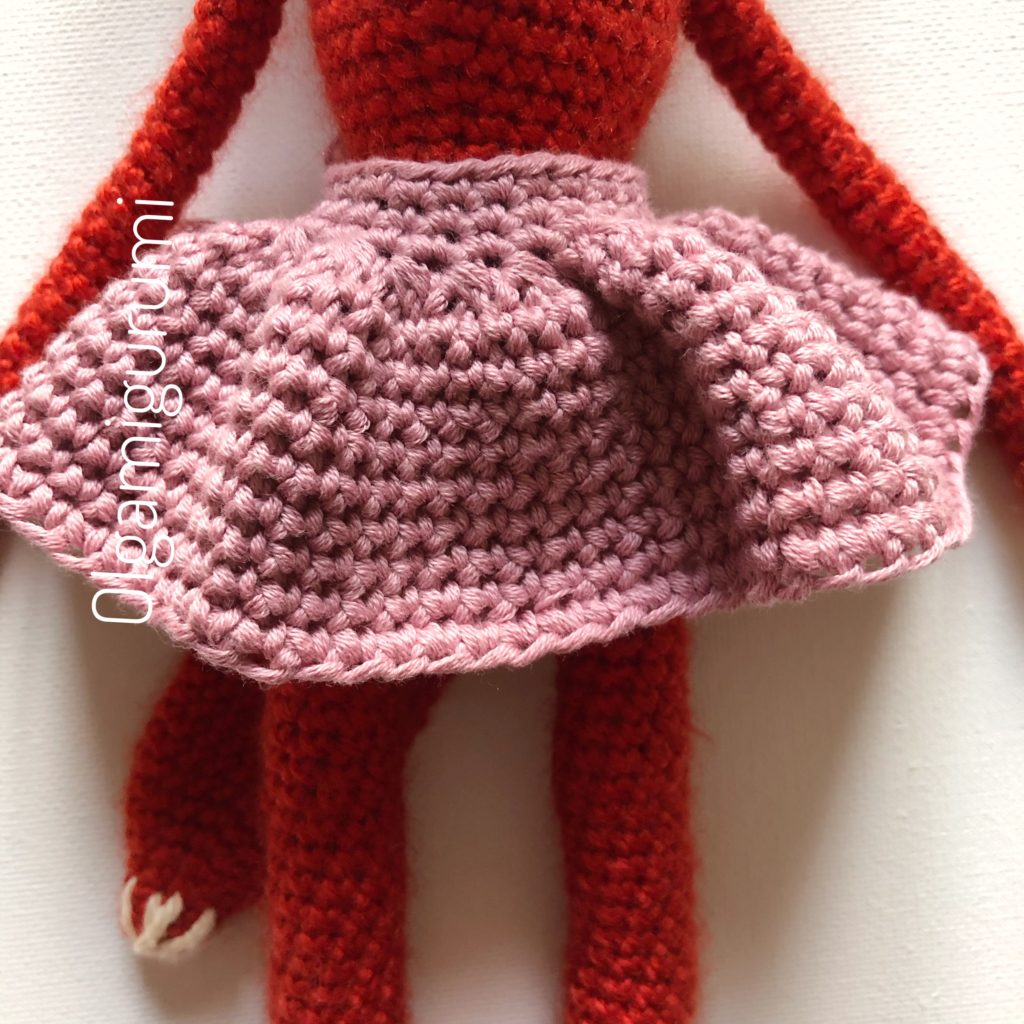
Now to finish the skirt, make 3 rows of single crochet stitches, taking both loops of the stitches to make the waist part thicker. Cut the yarn and hide the ends.
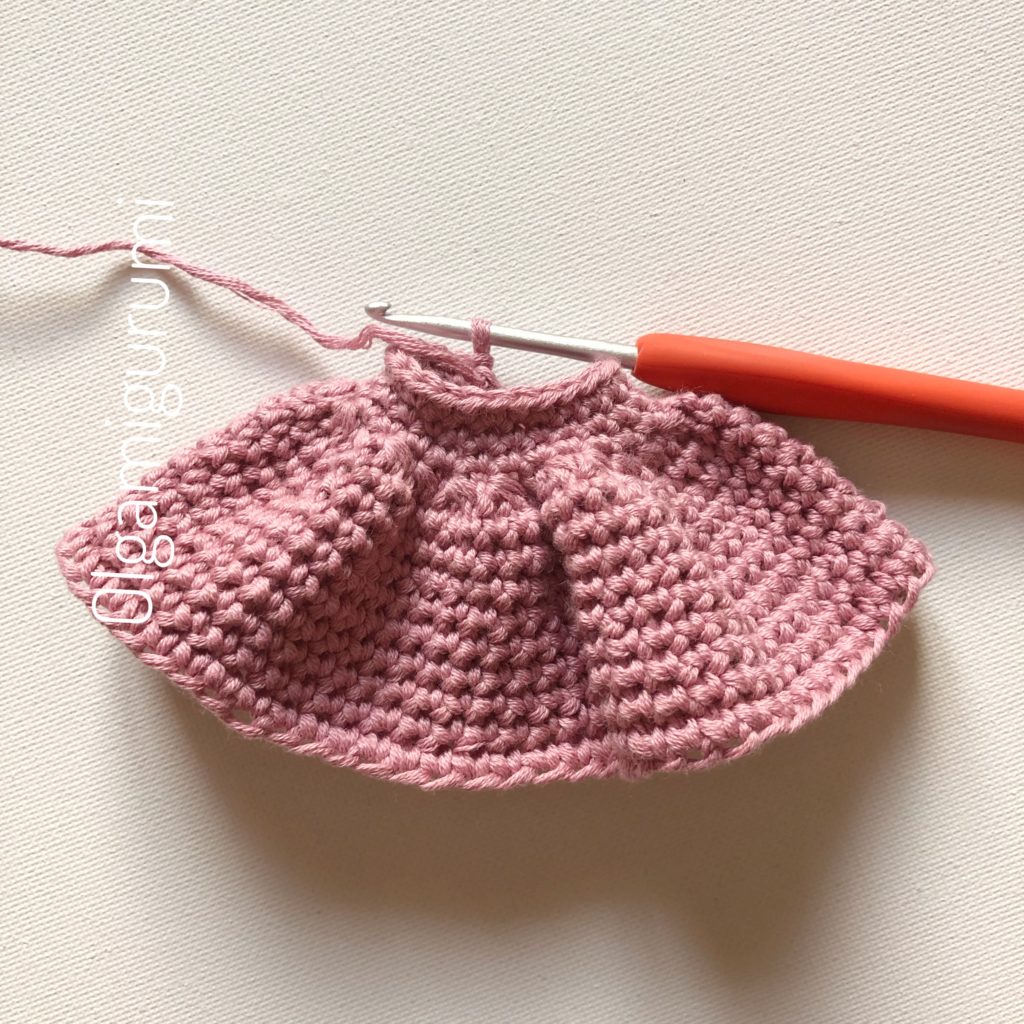

The skirt for your doll is ready.
Now that you know how to made the simple skirt, you can start experimenting with the colors, stitches, and ornaments. Happy crocheting!
Comments are closed, but trackbacks and pingbacks are open.